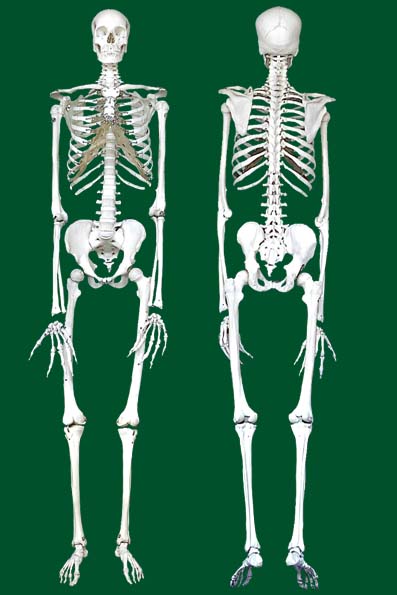
How to proceed with osteology practice
The bones you are about to receive are, so to speak, your compatriots and predecessors. Therefore, you must be courteous when handling the bones (remains). There are bones thinner than paper in the eye sockets and nasal cavity. Be very careful.
- Let's try to figure it out by applying it to our own body and referring to the commissural skeleton. For this purpose, it is necessary to be able to correctly determine the vertical, anterior-posterior, internal and external (these determine left and right) position of the bone.
- Observe the shape, characteristics, size, thickness, etc. of the bone. How do they resemble familiar objects (how can they be modeled)? How would you measure them based on your own body parts (e.g., finger width)? What categories of bones can be classified according to these items?
- Look at the bones in detail - protrusions, depressions, grooves, pores, etc. What are their relationships to organs (nerves, vessels, muscles, etc.)? What organs (nerves, vessels, muscles, etc.) are these associated with? Their position is helpful in determining right and left.
- If it is a symmetric bone, attempt to determine left and right.
- Let's connect adjacent bones .... Which type of joint is it? Move the joints assuming the muscles to which they are attached. (Note that there is no articular cartilage.)
- What about sex and age differences in bone? Are they as clear as described in the text? How should we consider so-called individual differences?
- In the cranium, let us also observe the decomposing bones.
- Compare with the bones of non-human animals. What are the differences?
- What would it look like on an X-ray film image?
After observing the above points (in any order), write down or sketch your impressions. A sketch is sometimes better than a "truthful" photograph.
Back to Table of Contents